

Creating the Perfect Open-Plan Space
Phase 1: Planning & Structural Engineering

What: Detailed structural floor plans and architectural layouts.
How: We work closely with structural engineers to translate a homeowner's vision into a technical reality. This involves precise measurements of load-bearing points and calculating the exact weight the new steel needs to support.
Why: Precision at this stage is non-negotiable. Without correct calculations, the safety of the entire property is at risk. These plans ensure that Building Control has everything they need for a smooth legal sign-off.
Phase 2: Service Relocation (Electrical & Plumbing)

What: Identifying and rerouting all essential services hidden within the wall.
How: As a Registered Electrician, Jon safely relocates light switches, power sockets, and wiring circuits. We also cap off and move radiators and plumbing pipework to suit the new layout.
Why: Most builders require you to find your own sparky or plumber to do this prep work. We handle it in-house, ensuring the project never stalls.
Phase 3: Structural Steel & Padstone Installation
.jpg)
What: The installation of a heavy-duty RSJ (Rolled Steel Joist) onto concrete padstones.
How: After safely propping the ceiling with "needles and props," we remove the masonry and install engineered concrete padstones. The steel beam is then carefully positioned to bridge the new opening.
Why: Padstones are vital because they distribute the weight of the steel beam across a wider area of the brickwork, preventing cracks or structural failure. This is the "bones" of the project and the most critical part of any wall removal.
Phase 4: Fire Protection & Boarding

What: Enclosing the steel to meet UK Building Regulations.
How: Once the beam is in place, we wrap it in fire-rated materials (such as 30-minute or 60-minute fireboard). At this stage, we also relocate any electrical wiring or plumbing that was previously hidden in the wall.
Why: Building Regulations strictly require fire protection for structural steel. If a fire were to occur, the protection ensures the steel remains rigid for long enough to keep the building safe. This stage is where Jon’s skills as a Registered Electrician provide a massive advantage.
Phase 5: Making Good & Professional Skimming

What: Plastering the new opening to a paint-ready finish.
How: We apply multi-finish plaster (skim) around the beams and the new structural pillars to create sharp, clean lines.
Why: This stage ensures the new structure blends perfectly with your original walls and ceilings.
Phase 6: The Final Finish (Kitchens & Living Spaces)
.png)
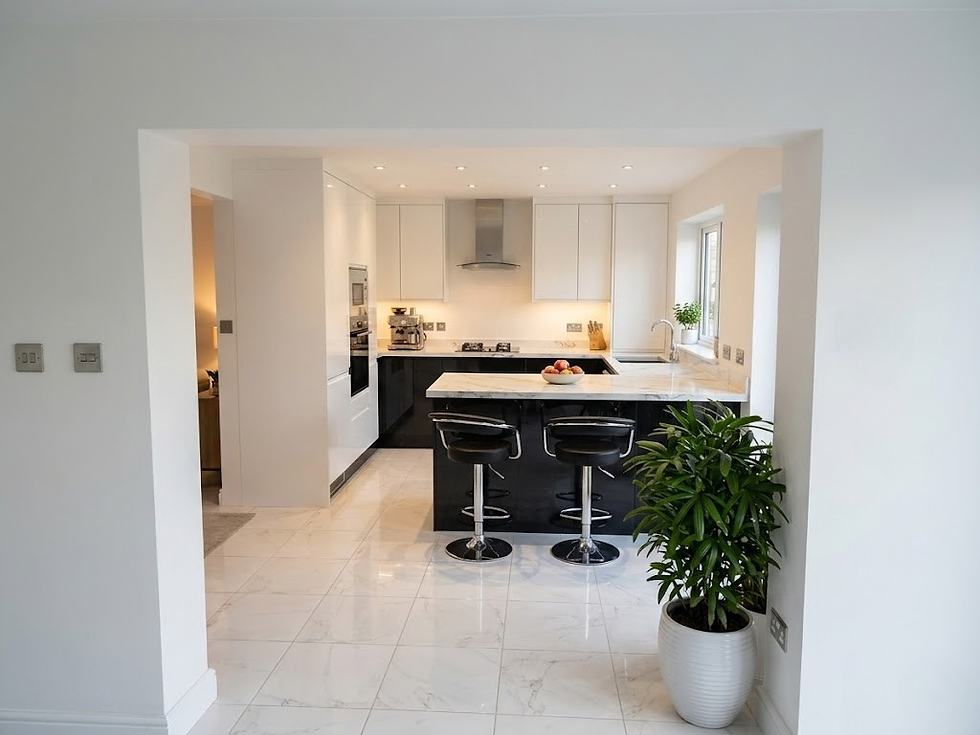
What: The completed transformation, painted and lit.
How: Final painting, installation of LED downlights, and flooring.
Why: This shows the "dream" end result: a bright, safe, open-plan home.
Insight into our work


